
How to Dry Herbs at Home: Rosemary, Parsley, Basil, and Chives
Store-bought jars of dried herbs add up fast, and most of the time they’ve been sitting on a shelf longer than you’d think. I dry my own instead, using what I buy fresh at the farmers market or pick up when herbs go on sale. This week I dried rosemary, parsley, basil, and chives, and I’m sharing exactly how to dry herbs at home the way I do it. You don’t need a dehydrator, and I’ll show you the three ways I dry them, depending on what’s in your kitchen.
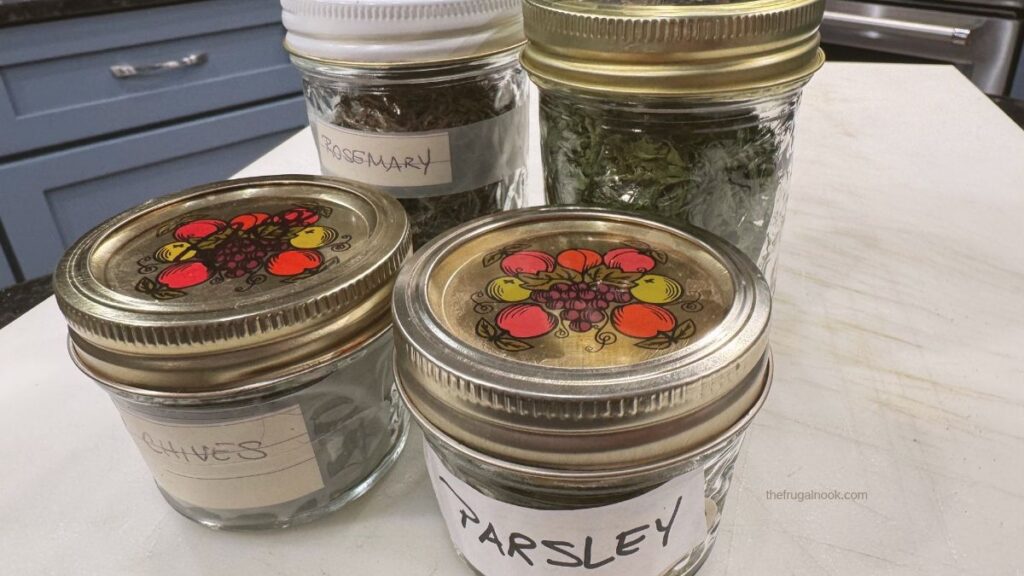
Table of Contents
A Short History of Drying Herbs
For most of history there was no refrigerator and no grocery store with fresh basil in January. Cooks and healers across the ancient world used herbs for flavor and medicine, and drying was a common way to keep them past the growing season. The usual answer was to tie herbs in small bundles and hang them upside down in a warm, airy spot, often from the rafters or beams of the kitchen. It’s a habit that came from not wasting what you had.
I don’t remember my grandmother drying herbs. If she did, it happened somewhere I rarely went, like the basement or the shed. What I do remember is her garden. She grew parsley, basil, garlic, and rosemary, the same herbs I’m drying today. She was the kind of cook who made everything from scratch, and I like to think this is one more habit I picked up from her without realizing it. More habits like this are in my 21 simple frugal living habits I learned from my grandmother.
📌 Save this Pin for Later 📌
DISCLAIMER: This page contains affiliate links. Purchases made through such links may earn me a small commission at no extra cost to you. I always have my readers’ interest at heart. Also, as an Amazon Associate, I earn from qualifying purchases. See full disclosure here.
What You’ll Need
- Fresh herbs (I used rosemary, parsley, basil, and chives)
- A clean towel
- A dehydrator, an oven, or a multi-cooker with a dehydrator setting
- A blender, or just your hands and a spoon
- Glass mason jars with lids
How Much Does It Save?
Here’s the math that got me started. A bunch of fresh rosemary cost me $1.49, and it filled a jar. The small jar of dried rosemary at my grocery store runs $6.49. Parsley, basil, and chives work out the same way: a few dollars of fresh herbs makes a lot more dried herb than a jar from the spice aisle.
Step 1: Wash and Dry the Herbs
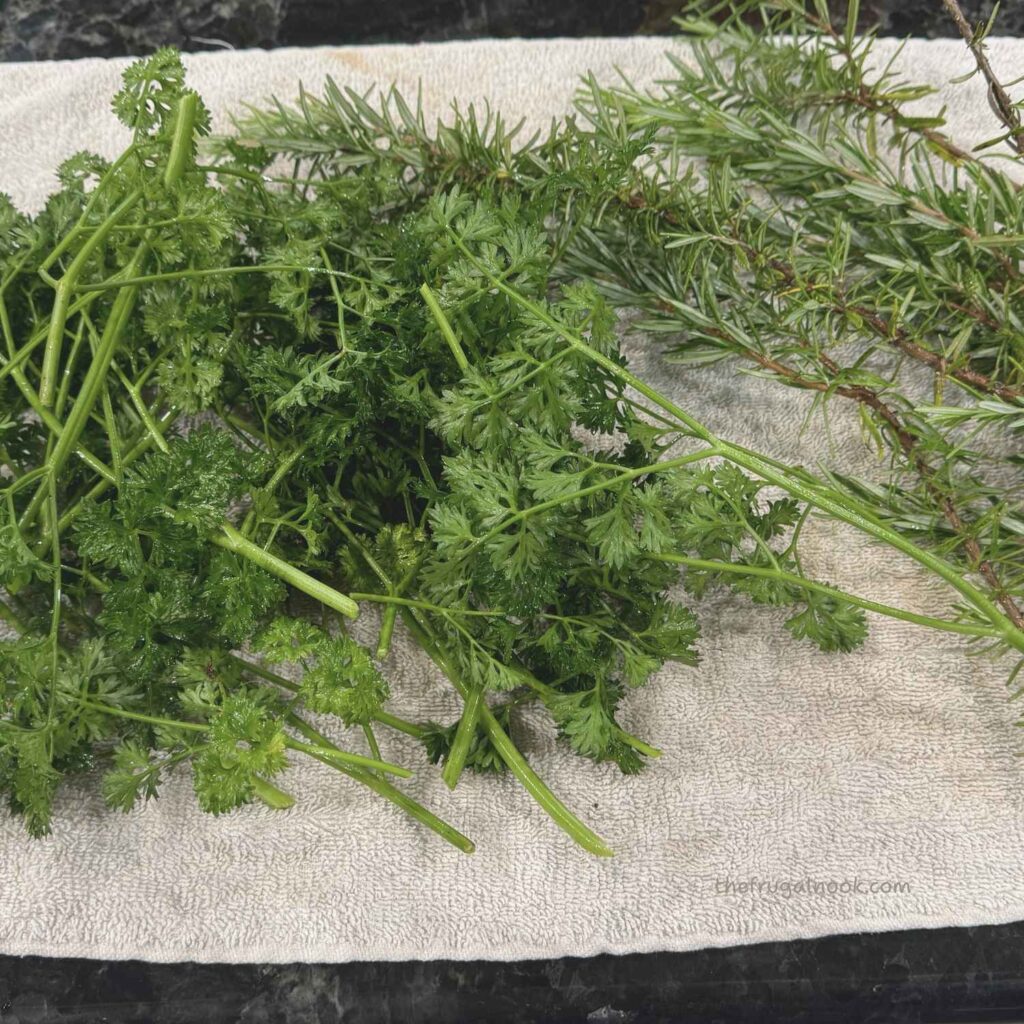
Start by washing the herbs well in cool water, then shake off the extra water. Lay them out on a clean towel and let them dry a good while before they go anywhere near heat. You want the surface water gone, so they dry evenly. Pick out any leaves that are yellow or spotted while you’re at it.
Step 2: Get Each Herb Ready
Each herb needs a slightly different touch:
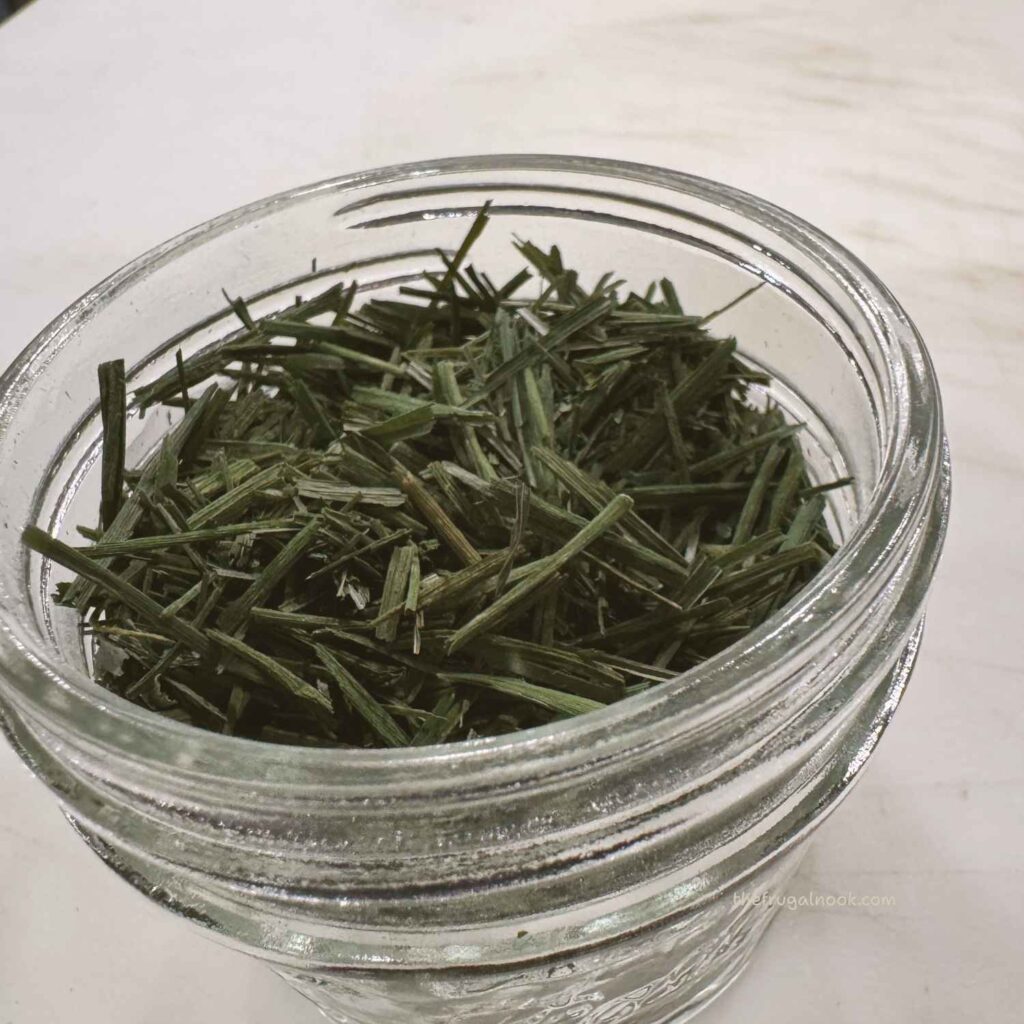
- Rosemary: Leave the sprigs whole. Once they’re dry, the needles slide right off the woody stem when you run your fingers down it.
- Parsley: Pull the leaves off the thickest stems, because stems dry much slower than leaves.
- Basil: Handle it gently. The leaves bruise and turn dark if you rough them up, so go easy and check on them early.
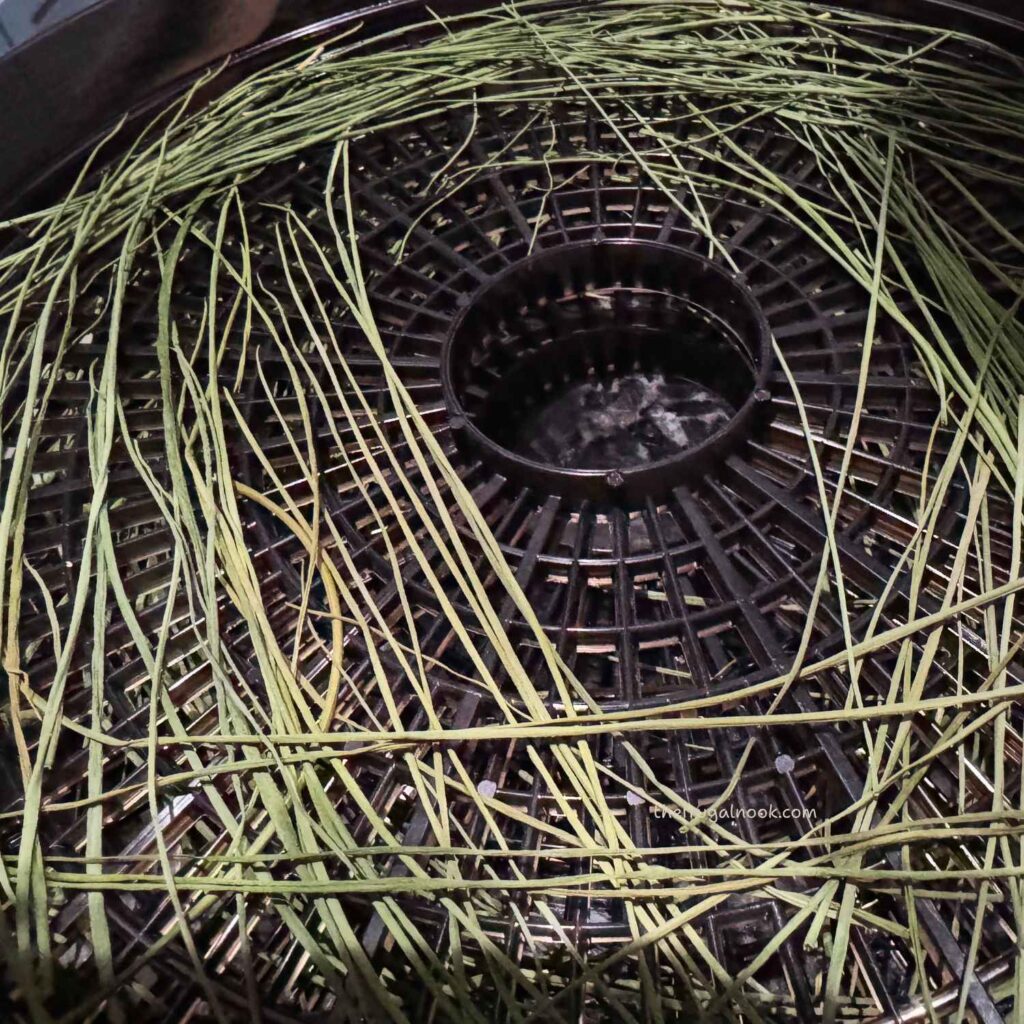
- Chives: Lay them out in long strands or snip them into small pieces first. They dry thin and papery.
Tender herbs like parsley, basil, and chives usually finish before rosemary, so check them first and pull what’s done.
Step 3: Dry Them Three Ways
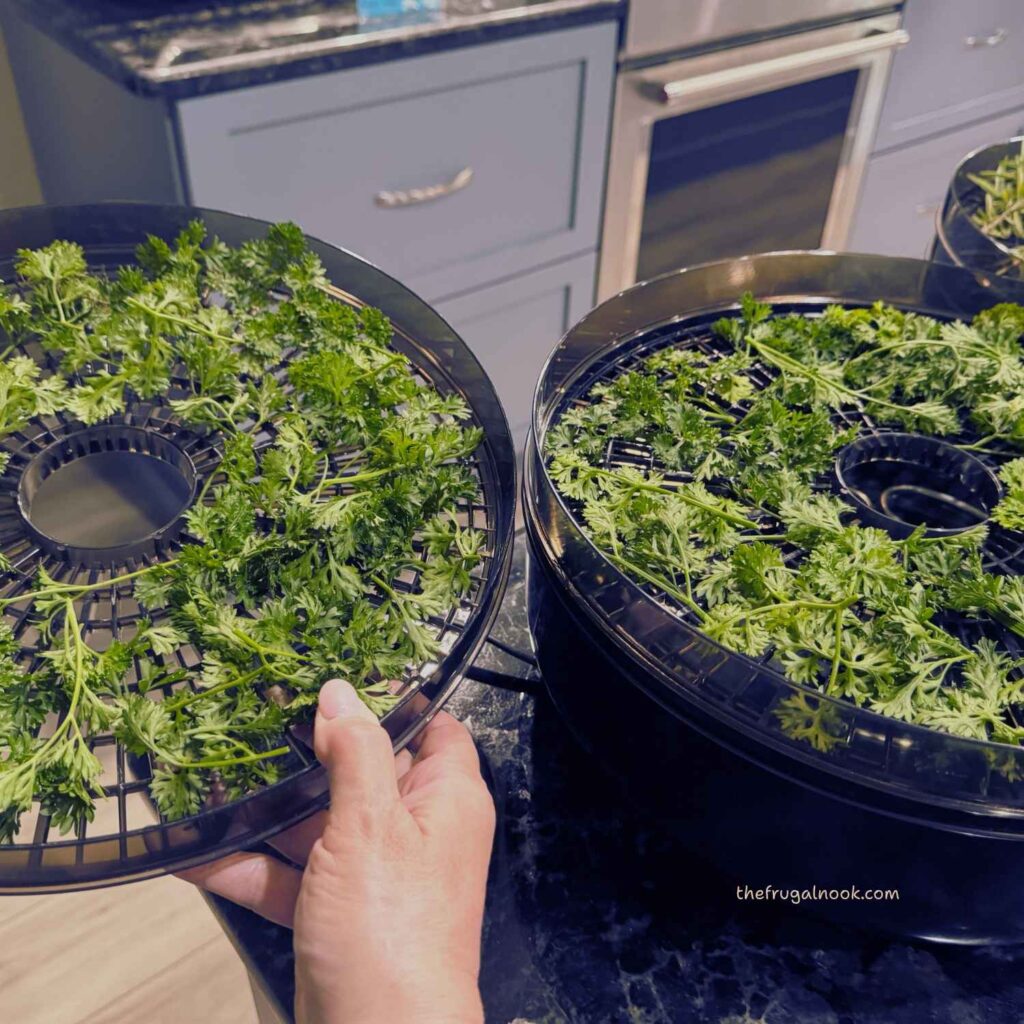
In a dehydrator. Lay the herbs out on the trays in a single layer so air can move around them. I set mine to
115°F. My dehydrator is years old and still works great. It takes about 8 to 12 hours for a full load of 6 trays, and I rotate the trays during the process so everything dries evenly.
In the oven. Set the oven as low as it will go, about 115 degrees for mine. It takes about 2 hours, which is much faster, but you can only fit about 2 trays at a time. If your oven doesn’t go that low, use its lowest setting and check the herbs every 20 to 30 minutes so they don’t scorch.
In a Ninja Foodi. Mine has a dehydrator function which sets to 115 degrees automatically, so I use the presets and let it run. It holds about 2 small trays, so it’s best for a small batch.
All three work. I reach for the dehydrator when I have a big batch, the oven when I’m in a hurry, and the Ninja Foodi for small amounts.
How to tell when they’re done: the leaves should crumble easily between your fingers, and the stems should snap instead of bend. If they bend or feel cool and damp, they need more time. Don’t skip this check, because any moisture left in the herbs can turn into mold in the jar.
Step 4: Crush or Grind
Let the herbs cool completely first. Warm herbs can leave moisture inside the jar. Once they’re cool, make them small enough to use. You can do this two ways:
- Blender: I run them through a small or larger blender for a few minutes until they turn to powder.
- By hand: Crush them with your hands and a spoon until they’re small. For rosemary, strip the needles off the stems first.
Both methods work well, so use whichever you like.
Step 5: Store Them in Glass Jars
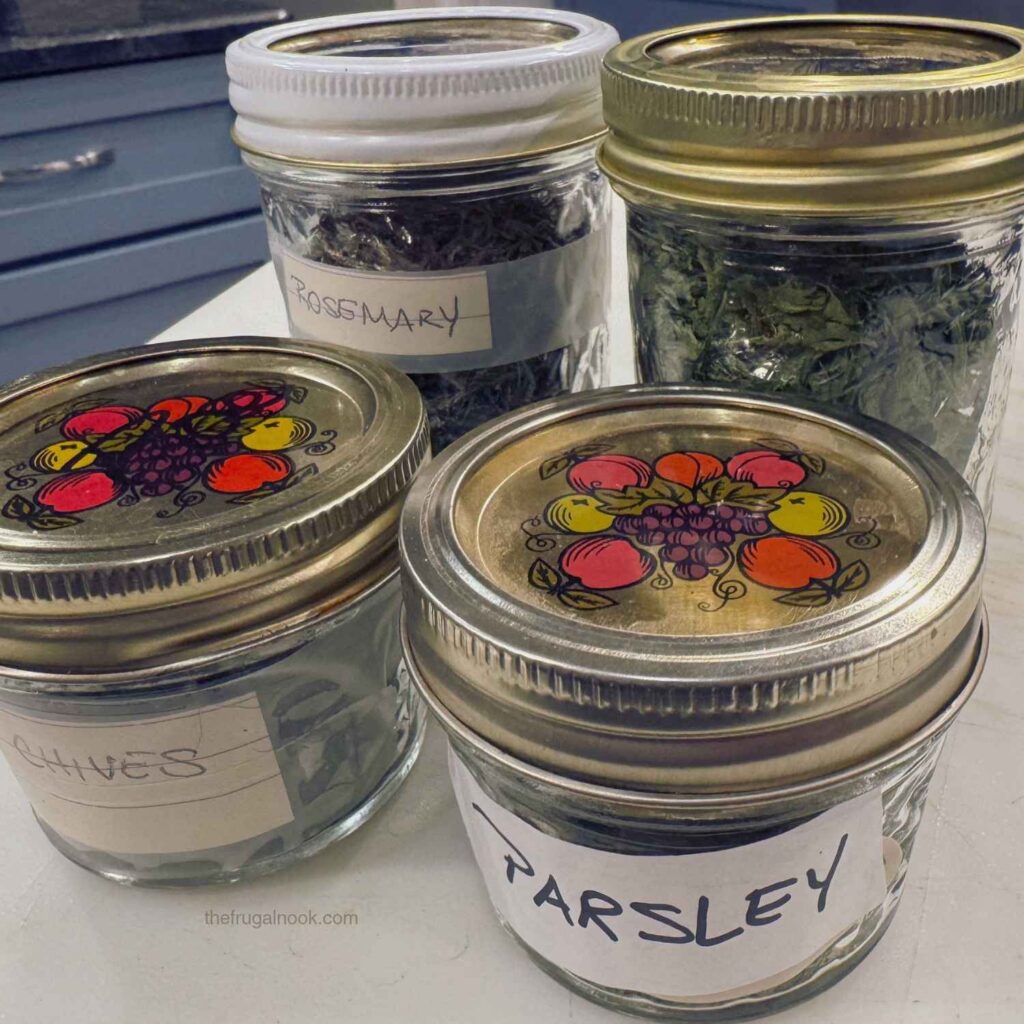
I store my dried herbs in glass mason jars. They keep for about 6 months. I only dry what I know I’ll use, so mine are usually gone well before that. Label each jar with the herb and the date, and keep them in a cool, dark cupboard away from the stove and sunlight.
Check the jars after a day or two. If you see fog on the glass or damp clumps, the herbs weren’t dry enough, so spread them out and dry them longer. If you ever see mold, throw the whole jar out.
Which Herbs Dry Well
Some herbs dry better than others. Sturdy, woody herbs like rosemary hold their flavor well when dried. Tender herbs like basil and chives can lose some of their flavor and color, which is one reason I also freeze them. I encourage you to dry herbs so they can help you make delicious meals all season. I will cover how to do more with herbs and stocking up on herbs for less in future posts.
Why I Dry My Own
- It saves money. Buying herbs at the farmers market or on sale and drying them costs less than buying jars of dried herbs.
- You control the amount. You dry what you’ll actually use, so little goes to waste.
- It fits a frugal kitchen. It’s one more way to stretch a farmers market trip. See how I stretched a full week of meals in my farmers market grocery store haul.
Dried vs. Fresh: How to Swap Them
Dried herbs are more concentrated than fresh, so you use less. A common rule of thumb is about 1 teaspoon dried for every 1 tablespoon fresh. Start with a little and add more to taste. Add dried herbs earlier in cooking so they have time to soften and release their flavor and crush them between your fingers as you add them to wake up the flavor.
What to Use Dried Herbs In: I use mine in soups, stews, beans, roasted potatoes, and homemade bread. A pot of vegetable soup made with leftover vegetables is a good place to start.
📌 Save this Pin for Later 📌
Frequently Asked Questions
How do I dry herbs without a dehydrator?
You don’t need one. A dehydrator is the easiest way to dry a big batch, but I also dry herbs in the oven on its lowest setting and in my Ninja Foodi’s dehydrator function.
How long does it take to dry herbs?
In my dehydrator, a full load of 6 trays takes about 8 to 12 hours. In the oven, it’s about 2 hours for about 2 trays.
How long do dried herbs last?
Stored in glass mason jars, mine keep for about 6 months.
Do I have to grind dried herbs?
No. I blend them to a powder for a fine texture, but you can also just crush them by hand with a spoon.
Can I freeze herbs instead?
Yes. I do that too, and I will cover how in a future post on stocking up on herbs for less.
Why did my herbs turn brown?
Too much heat, or drying them too long, can darken herbs, especially tender ones like basil. Lower the temperature and check on them sooner.
How can I tell if dried herbs have gone bad?
Throw them out if you see mold, smell something musty, or find damp clumps in the jar. Herbs that have just lost their punch are fine to use, but they won’t add much flavor.
Final Thoughts
Drying herbs takes a little time, but most of it is hands-off, and you end up with jars of herbs that cost far less than the store-bought kind. Start with whatever you have, and try one method before you buy anything new.
More Topics
- 21 Simple Frugal Living Habits I Learned From My Grandmother
- Welcome to The Frugal Nook: A Frugal Blog for Simple, Homemade Living
- Farmers Market Grocery Store Haul: How I Save Big on $52
- Building a Frugal Mindset: 6 Simple Steps to See Where Your Money Goes
- Shop My Storefront
Stay Connected
Want more frugal living tips and from scratch recipes, join The Frugal Nook newsletter for more.

About Me
I’m Mary Ann, the face behind The Frugal Nook (and its sister site, My Tasteful Threads). Before blogging, I spent years in IT project management which probably explains why everything I do here, from meal planning to home organizing, tends to come with a checklist!
These days, my focus has shifted to what actually matters to me: making a home run smoothly without overspending, cooking meals that stretch further, and finding simple, doable ways to live well on less. I’m also a grandmother, which means a lot of what I share here gets tested (and approved) by the people I love most.
The Frugal Nook isn’t about deprivation or living without, it’s about being intentional with what you have and finding joy in the process. I’m so glad you’re here, and I hope you’ll stick around.

I’ve got tons of herbs growing in my garden and I never even thought of drying them myself. What a great idea. I think I can actually do this!
Yes. You can do this. Once i figured it out it was so much easier than making a quick stop at the store.
Thanks for these helpful tips on how to dry herbs at home! I love and use often in my kicthen rosemary, parsley and basil. It is good to know that I can dry them myself and store them properly.
Once I discovered I could do this, it worked out. Haven’t stopped since.
Thank you for walking us through how you dry herbs at home. I’ve never tried it, but feel confident I can give it a go after your easy to follow instructions.
Yes, I know you can do this. Let me know how it goes.